how to

measure your kitchen

measuring guide

By providing us with accurate measurements, you not only help communicate all the existing details of your cabinets, walls, windows, doors, ceiling and obstructions to our designers, you're also able to easily convey to us your ideas and the space you have to work with. Follow the guide below and record each of your measurements as you go.

Drawing out a floor plan is recommended but not required. Your floor plan can be a simple, rough drawing of your space. It doesn't need to be to scale, but it needs to be neat and clear. Only accuracy counts here, not artistic talent. 

Be sure to always measure in inches and to take plenty of photos of the space from multiple angles.

Let's get started! 

step 1: existing cabinetry

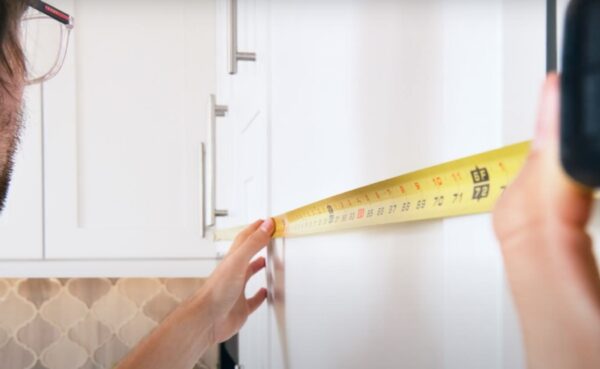
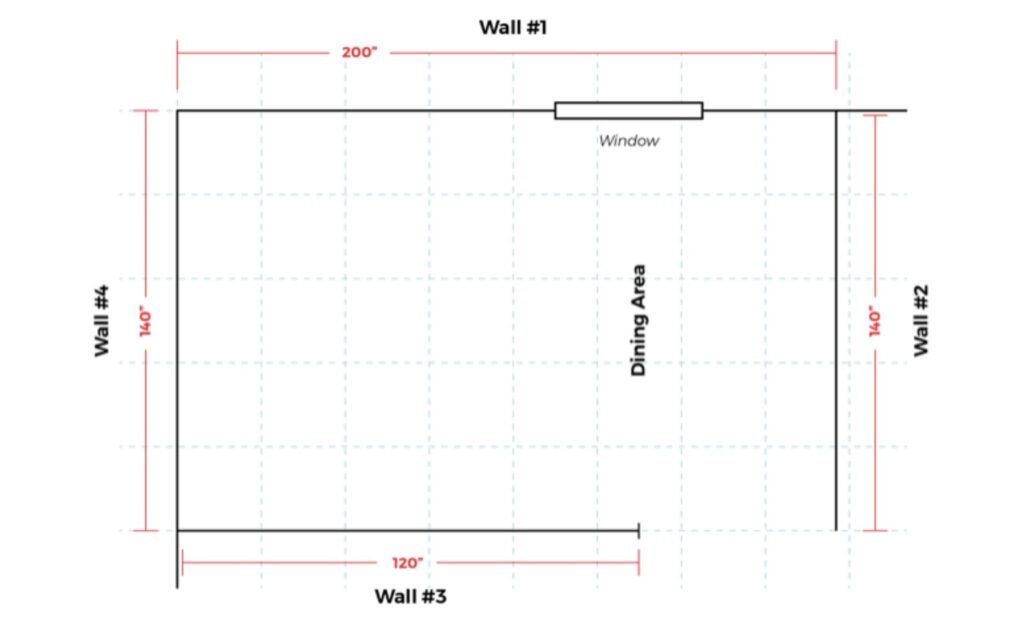
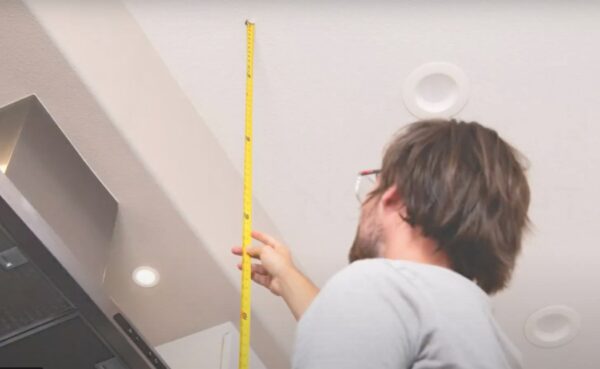
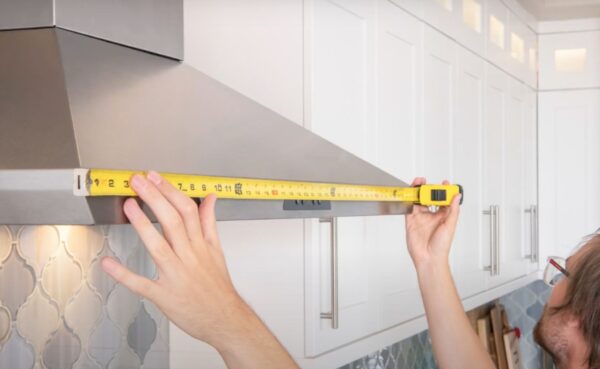
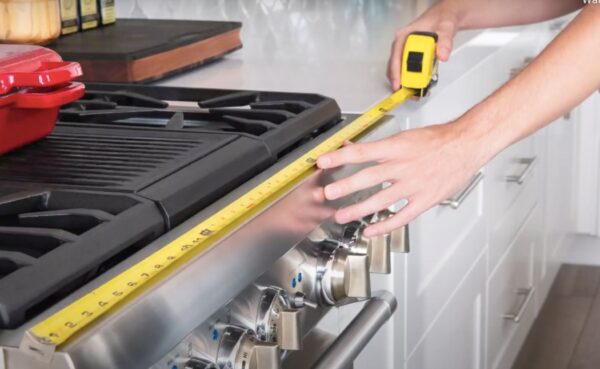
Start off by measuring the height, depth and total length of your existing upper, lower and tall cabinets. With these measurements, we're able to gain an even better understanding of your overall space. If you plan to reface or refinish, this step is especially helpful for us to provide you with an accurate estimate.

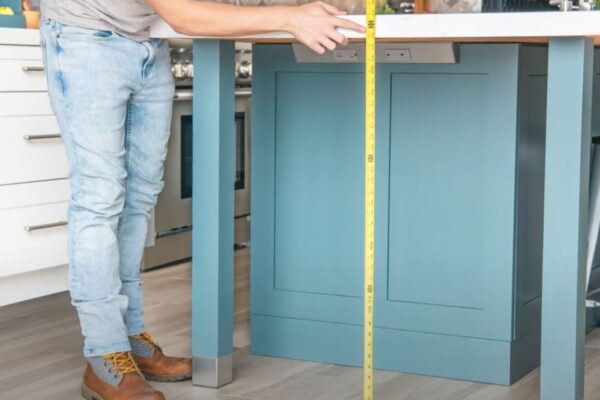
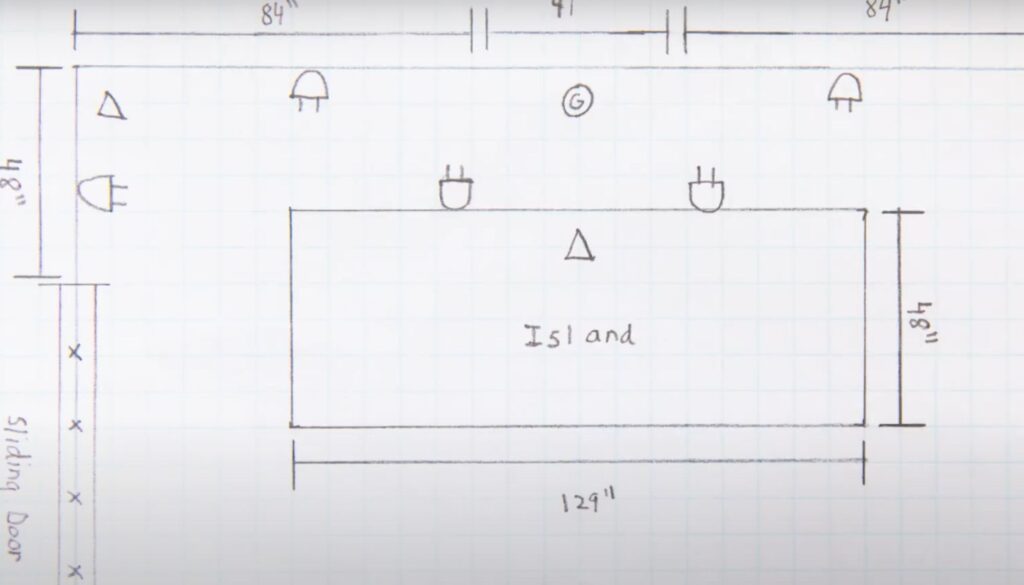
If your kitchen has an island or a bar, measure the length, width and height of the casework, include measurements from countertop to countertop and mention if there is an overhang or legs.

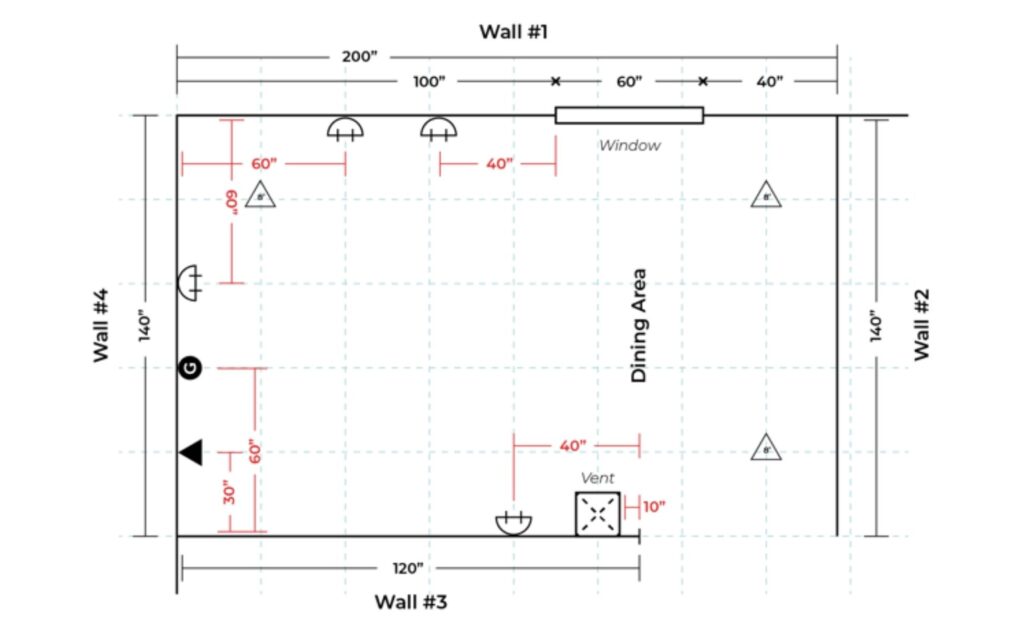
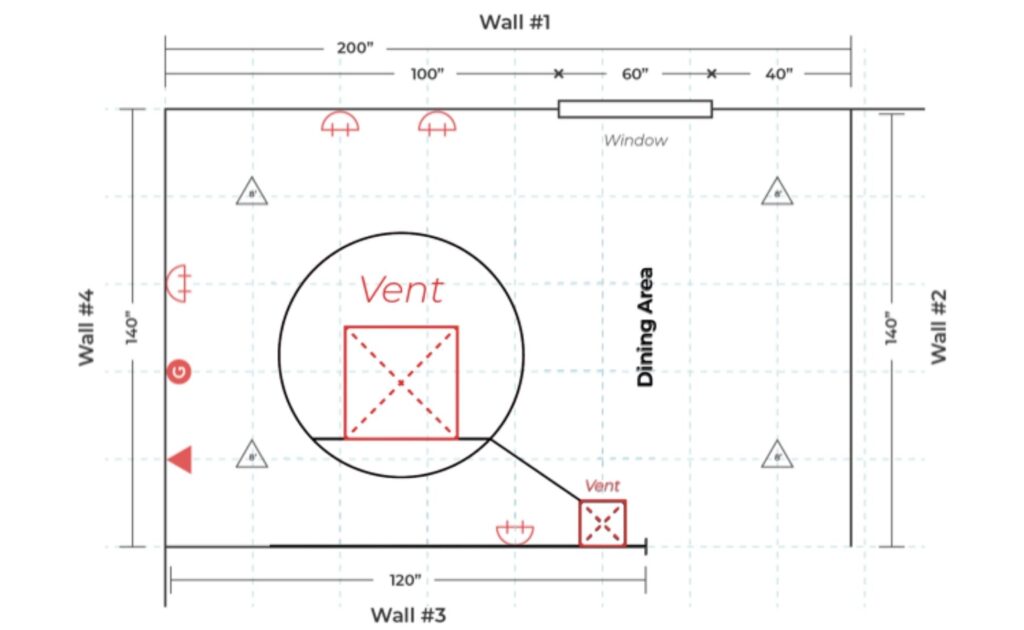
Note if one, both or all sides of the island have cabinetry and how deep they are. Don't forget to mark the locations of any appliances, plumping or electrical outlets within the island.

step 2: walls

Choose a corner and begin measuring the full length of each wall. Measure from inside corner to inside corner, getting the total space, ignoring doors, windows, appliances or obstructions for the moment.

Keep going clockwise, working to your right, and measure the length of each wall, recording your measurements onto your notepad as you go. It might also be helpful to number each wall for easy reference as well as the names of the of adjacent rooms.

step 3: windows & doors

Next, measure the wall in segments and record any openings (doors, windows, etc.) For example, to measure the corner of a wall to a window, start in the wall corner and measure to the outside edge of the first opening. When measuring doors and windows, remember that the trim or casting is considered part of the door or window. Measure all openings from outside trim edge to outside trim edge and make note if you plan to keep or replace your trim or molding.

Measure windows from your floor to the bottom of the windowsill, then from the windowsill to the top of the window, including the top molding and from the top of that to the ceiling, making note of your measurements. Measure the height of doors and from top of door molding to ceiling and record these measurements in your notepad.

step 4: ceiling & Soffit

Now, take vertical measurements of your walls from floor to ceiling in at least a few areas in the kitchen since floors are not always level, especially in older homes.

If your kitchen has soffits, measure the distance from the floor to the soffit and from the bottom of the soffit to the ceiling and the total length of the soffit. Measure how far they come out from the wall. Record your measurements.

step 5: Appliances

Appliances play a key role in the final kitchen design. Although many come in standard sizes, it's common for appliances like refrigerators and wall mounted ovens to vary in size.

Measure and provide dimensions for your refrigerator, dishwasher, microwave, stove, oven, vent hood, sink and any other appliances. Whether you're buying new or keeping the same, knowing the dimensions of your appliances will help ensure the overall accuracy of your design.

step 6: Obstructions, plumbing & Electrical

When you get to an obstruction such as a radiator, chimney, vent or pipe, measure their dimensions and the distance to the nearest wall. Label and mark these locations.

Also note anything related to water supply, power sources for appliances, HVAC vents, electrical outlets and light switches. Provide their existing locations by creating a legend for each obstruction and indicating them on the drawing with corresponding symbol.

Be sure included photos of all obstructions, plumbing or electrical locations and to note if you plan to move any plumbing/electrical fixtures to accommodate your design.

step 7: Send in your measurements & Floor Plan

Congrats! The hard work is done! Now it's time for us to  bring your designs to life.

Send in your measurements, floor plan, desired cabinet style and plenty of photos of your existing space to us via our Remote Estimate Forms or by emailing design@elitecabinetsdirect.com. After your Estimate Request has been submitted, a member of our team will reach out to notify you that your project details and measurements have been received. From there, our team will begin estimating a quote, making recommendations and creating your new cabinetry design to your exact specifications.